Use APKPure App
Get GD Mail old version APK for Android
ứng dụng email cho GoDaddy. Tất cả các ngôn ngữ.
How to Configure Godaddy Email on Android
Besides web hosting, Godaddy also offers email services that can go along with your website. You can have your very own email address linked to your personal or business website, making it more integrated and easy to manage. If you have an Android phone, you can configure your Godaddy email account to work on your smartphone or tablet so you can keep on receiving those important messages even when you’re away from your PC.
1)
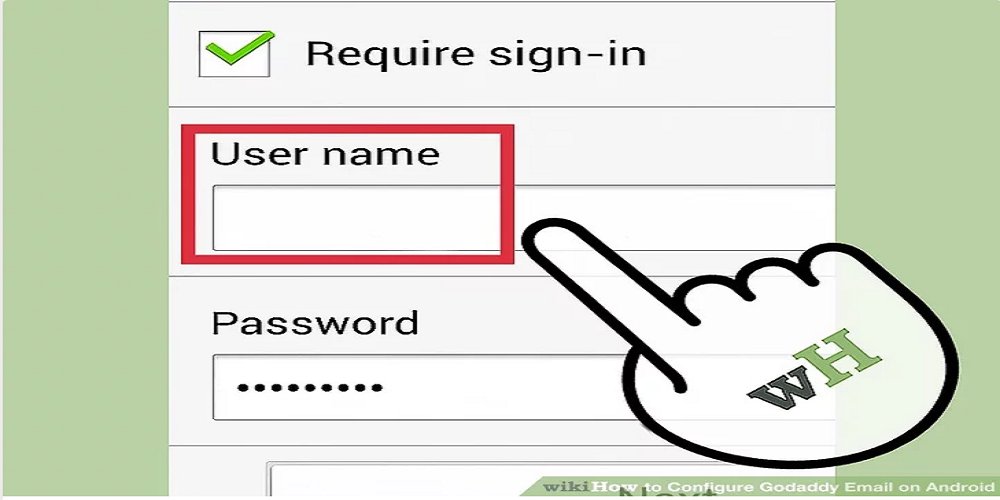
Enter your Godaddy email. Make sure that you type in the address and password correctly on the text fields provided, and press “Next” to continue to the next step.
2)
Select your mail servers. If the Godaddy email service you signed up for has “IMAP,” choose this setting from the list of choices of mail servers. But if you’re not sure what mail server your email address service is using, then simply pick “POP3.”
After selecting your mail server, tap the “Manual Setup” button at the bottom of the application screen to continue.
3)
Enter your incoming mail server settings. Enter the following values on the allocated text fields of your the Incoming Mail Server settings screen, and press the “Next” button to proceed afterwards.
For POP3 mail server:
Username: Type in your complete Godaddy email address (e.g, [email protected])
Password: Type in the password for your Godaddy email address
POP3 server: pop.secureserver.net
Port: 110
For IMAP mail server:
Username: Type in your complete Godaddy email address (e.g, [email protected])
Password: Type in the password for your Godaddy email address
IMAP server: imap.secureserver.net
Port: 143
Enter your outgoing mail server settings. Enter the following values on the allocated text fields of your the Outgoing Mail Server settings screen and tap “Next” to go to the next step.
SMTP - Outgoing Mail Server
SMTP server: smtpout.secureserver.net
Port: 80
Security type: None
4)
Name your Godaddy email account. On the next screen, type in the name you want to give to your Godaddy account on your Android, and the name that you want to appear on every message you send through this email account on the text fields provided.
5)
Save the changes. Once you’ve entered all the required information, tap the “Done” button to save and create the new account. You can start receiving your Godaddy email messages as soon as the account has been configured and saved on your Android device.
Last updated on Apr 6, 2018
Minor bug fixes and improvements. Install or update to the newest version to check it out!
Phiên bản mới nhất
![]() 5.403
5.403
Được tải lên bởi
أبو عبيدة
Yêu cầu Android
Android 4.0.3+
Danh mục
Báo cáo


Discover what you want easier, faster and safer.

GD Mail
5.403 by MailApp
Apr 6, 2018