Use APKPure App
Get Drawing Hair Step by Step old version APK for Android
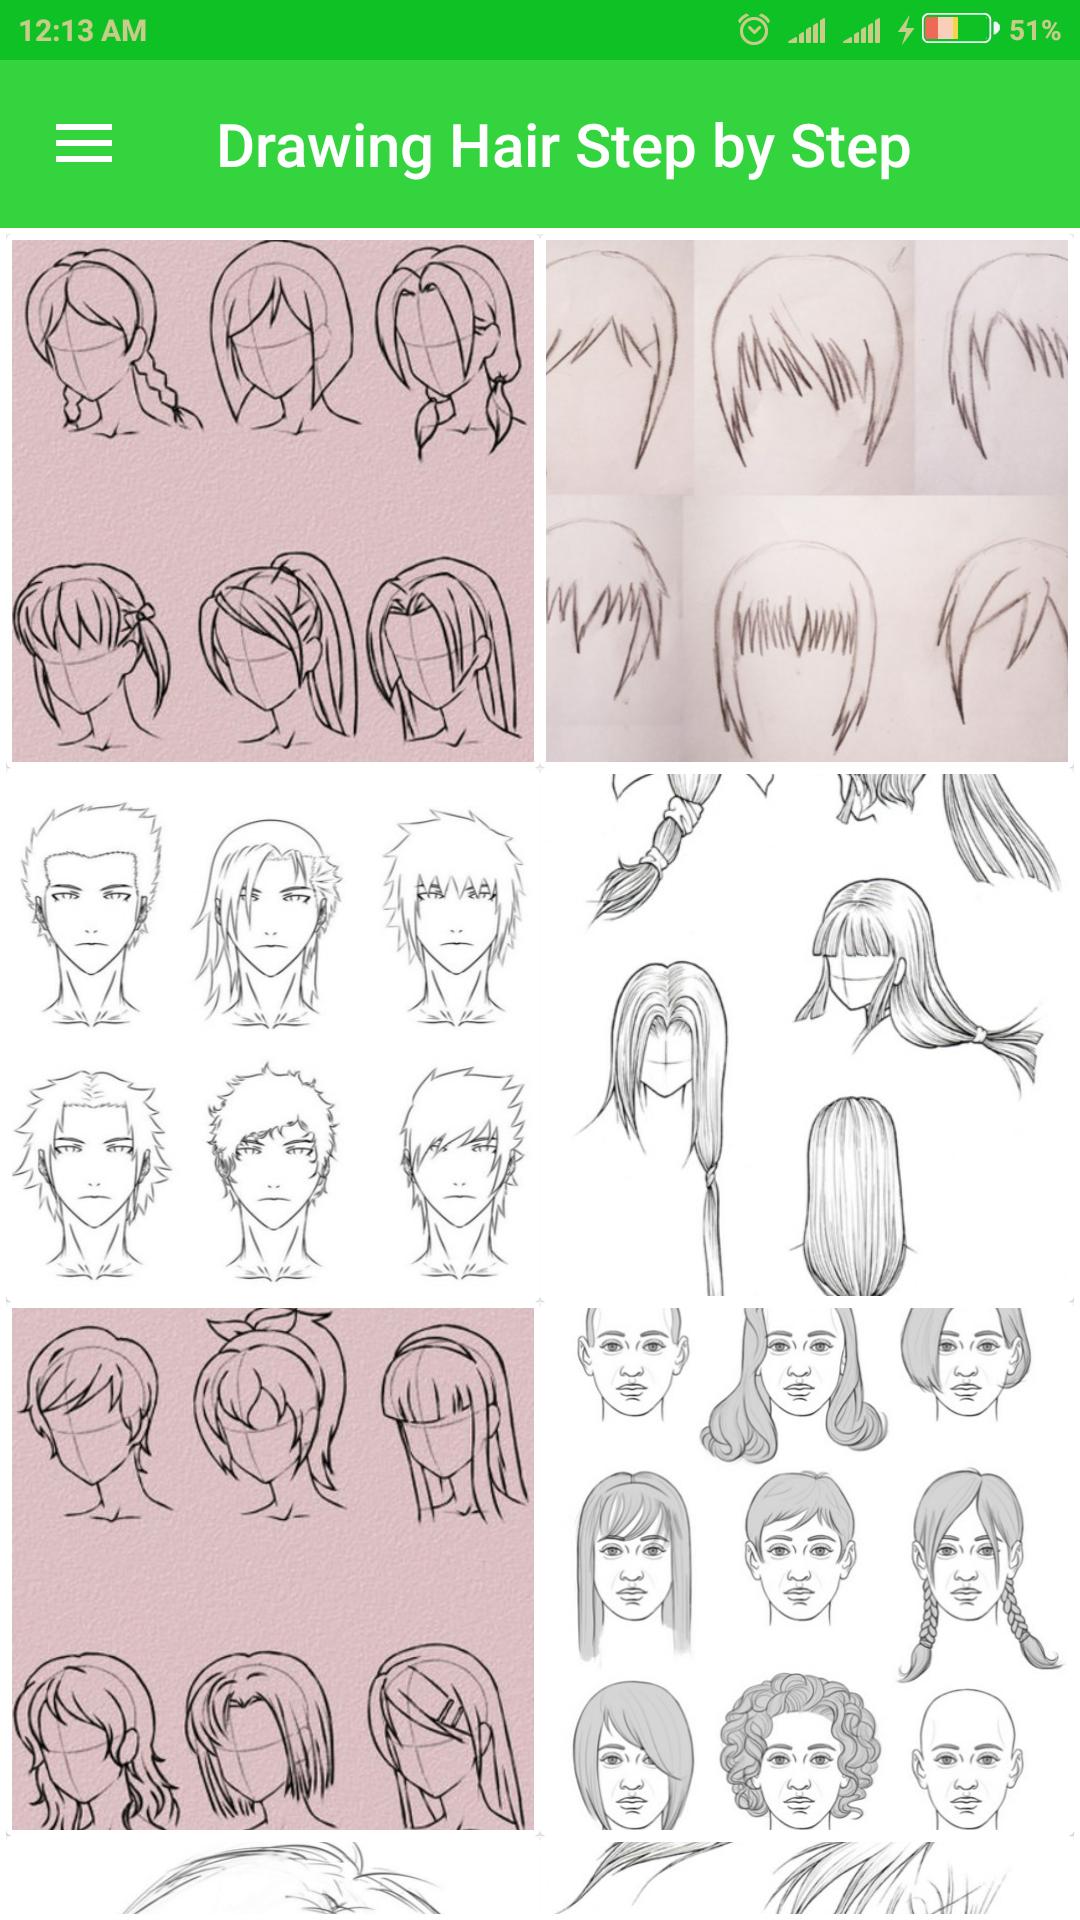
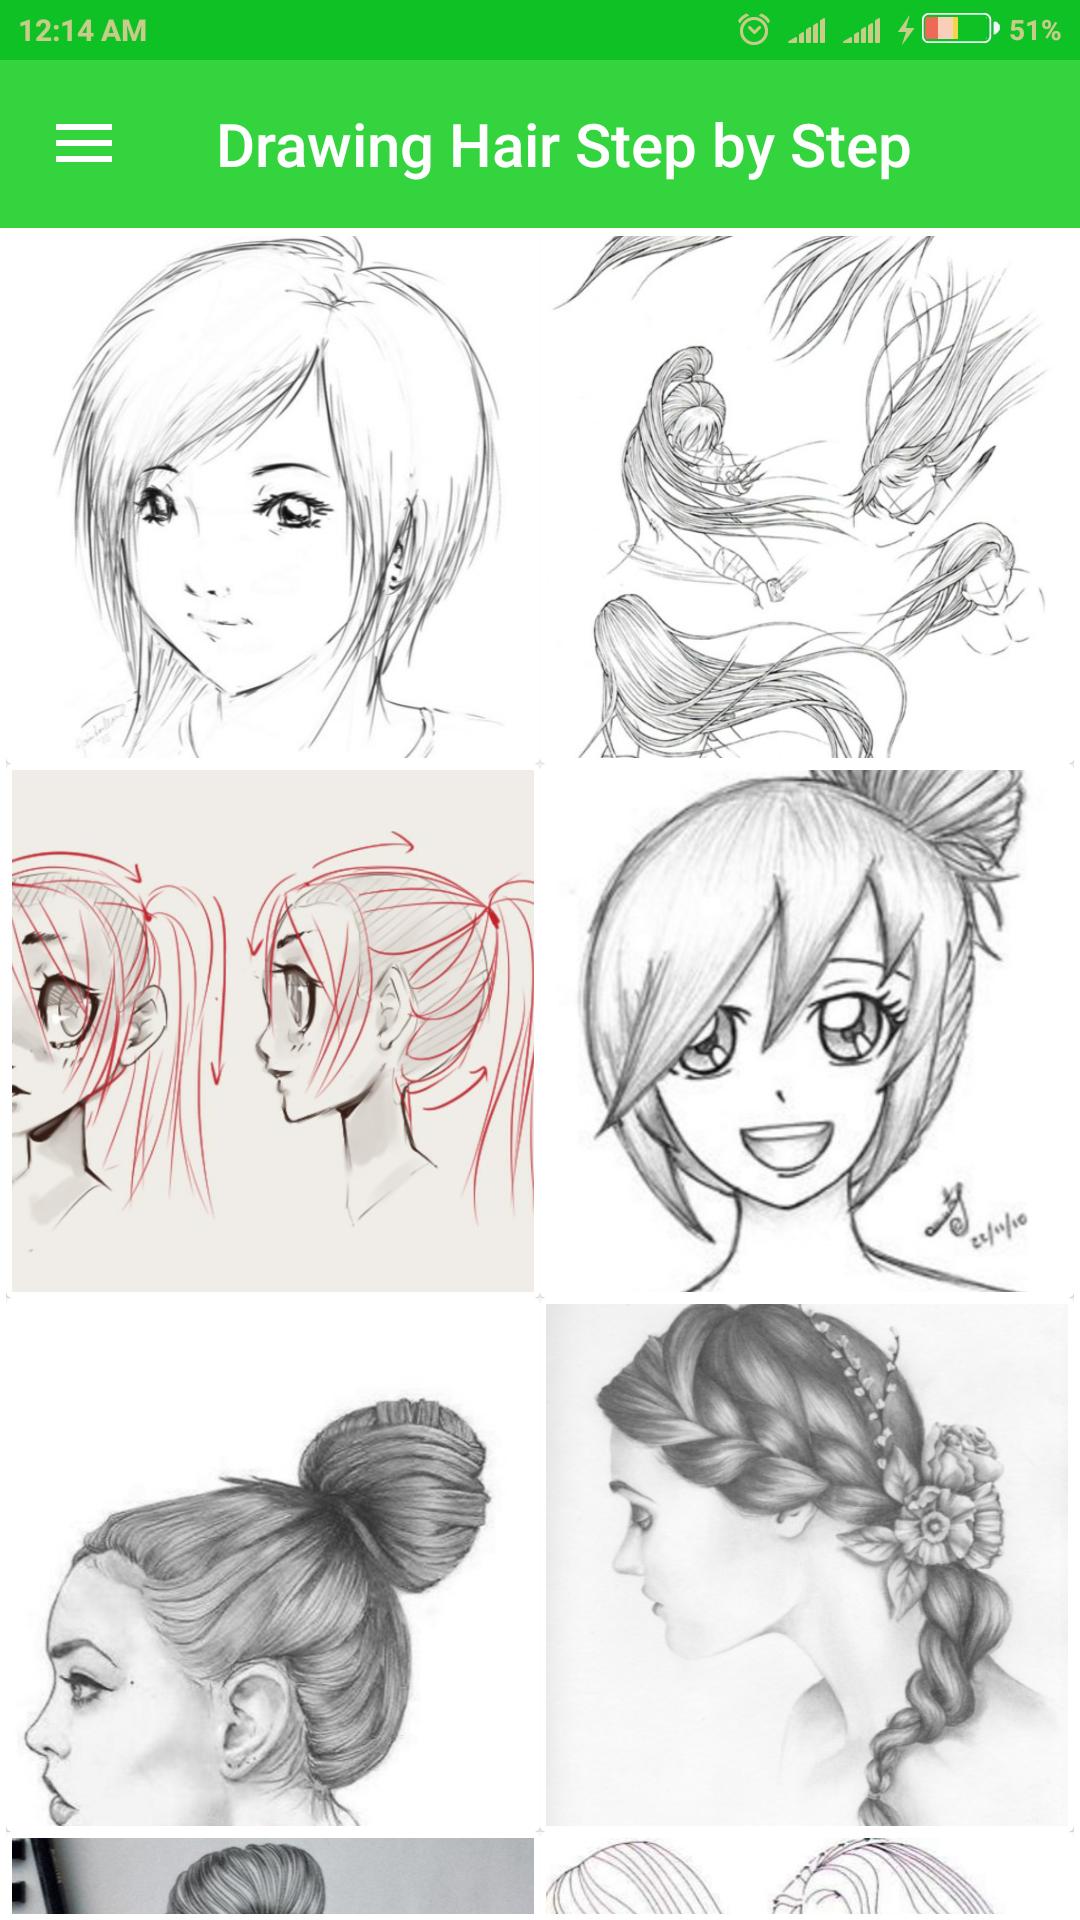
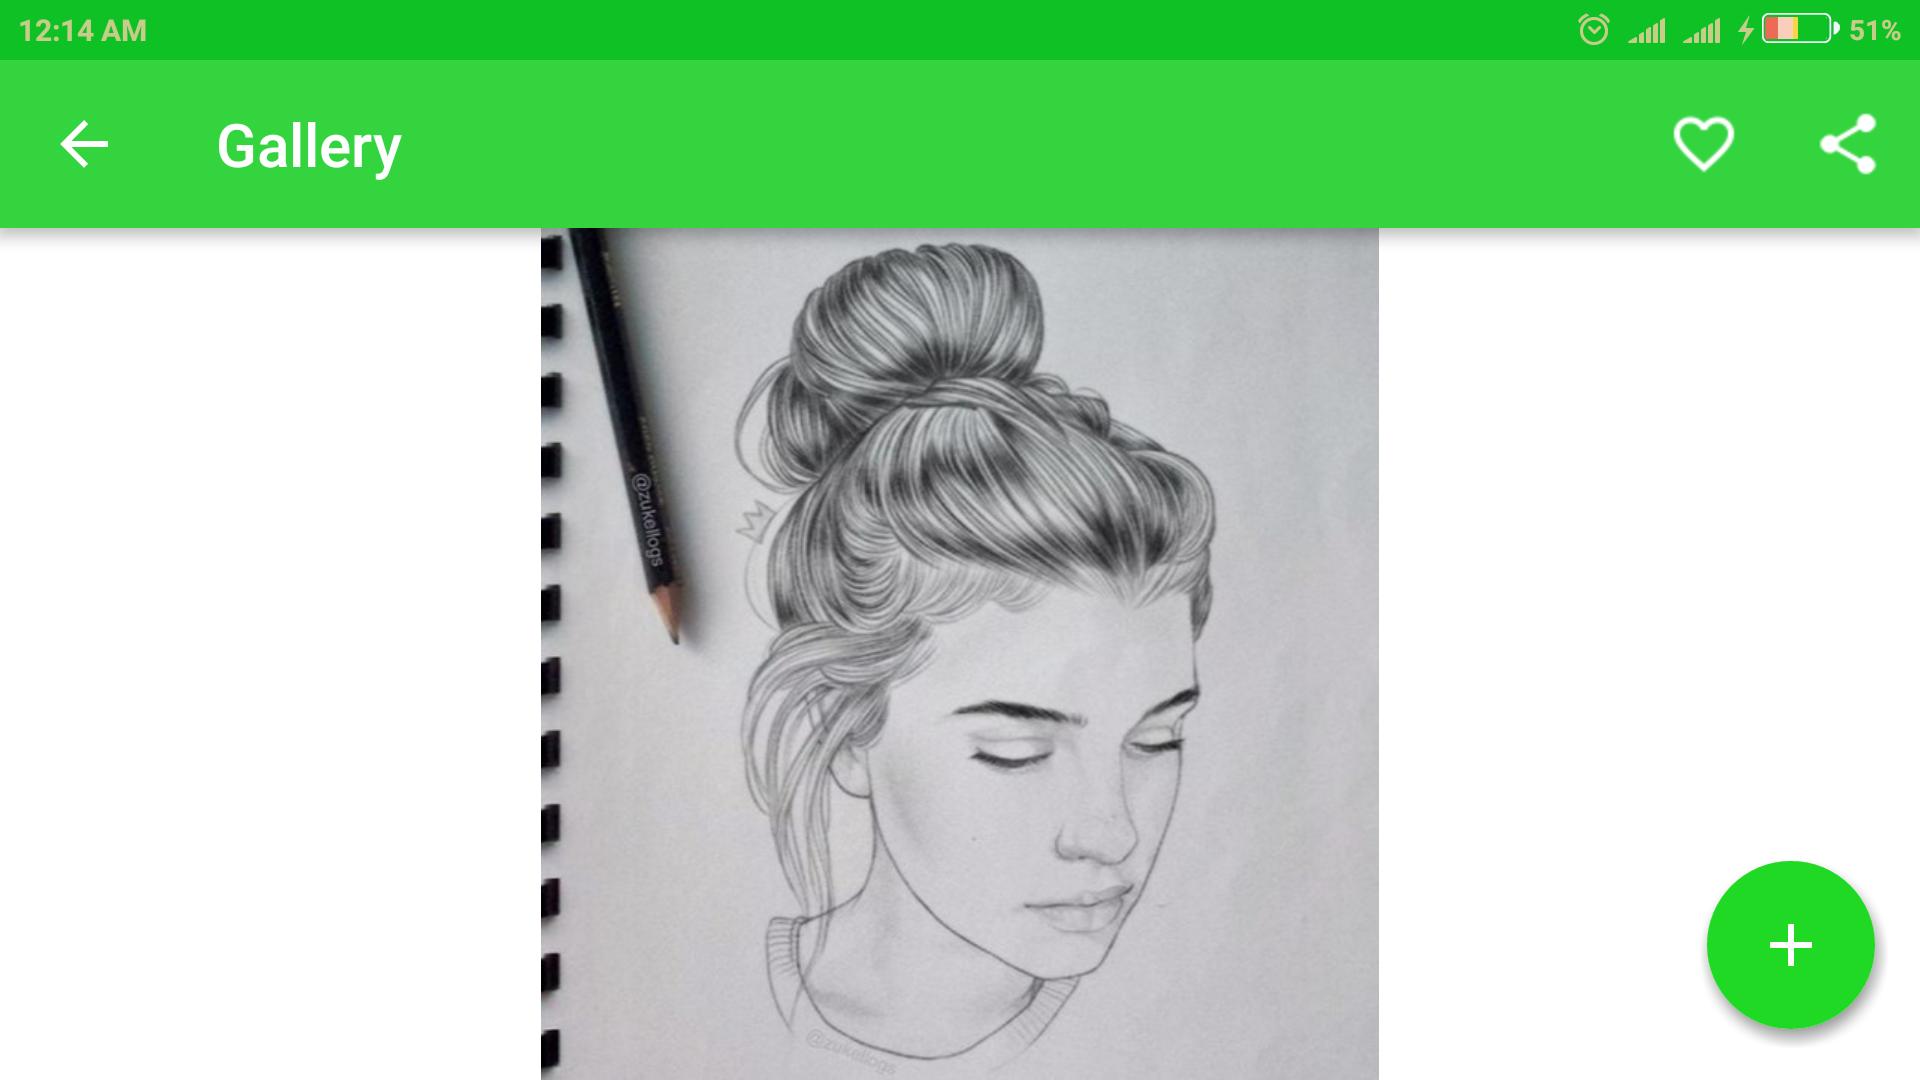
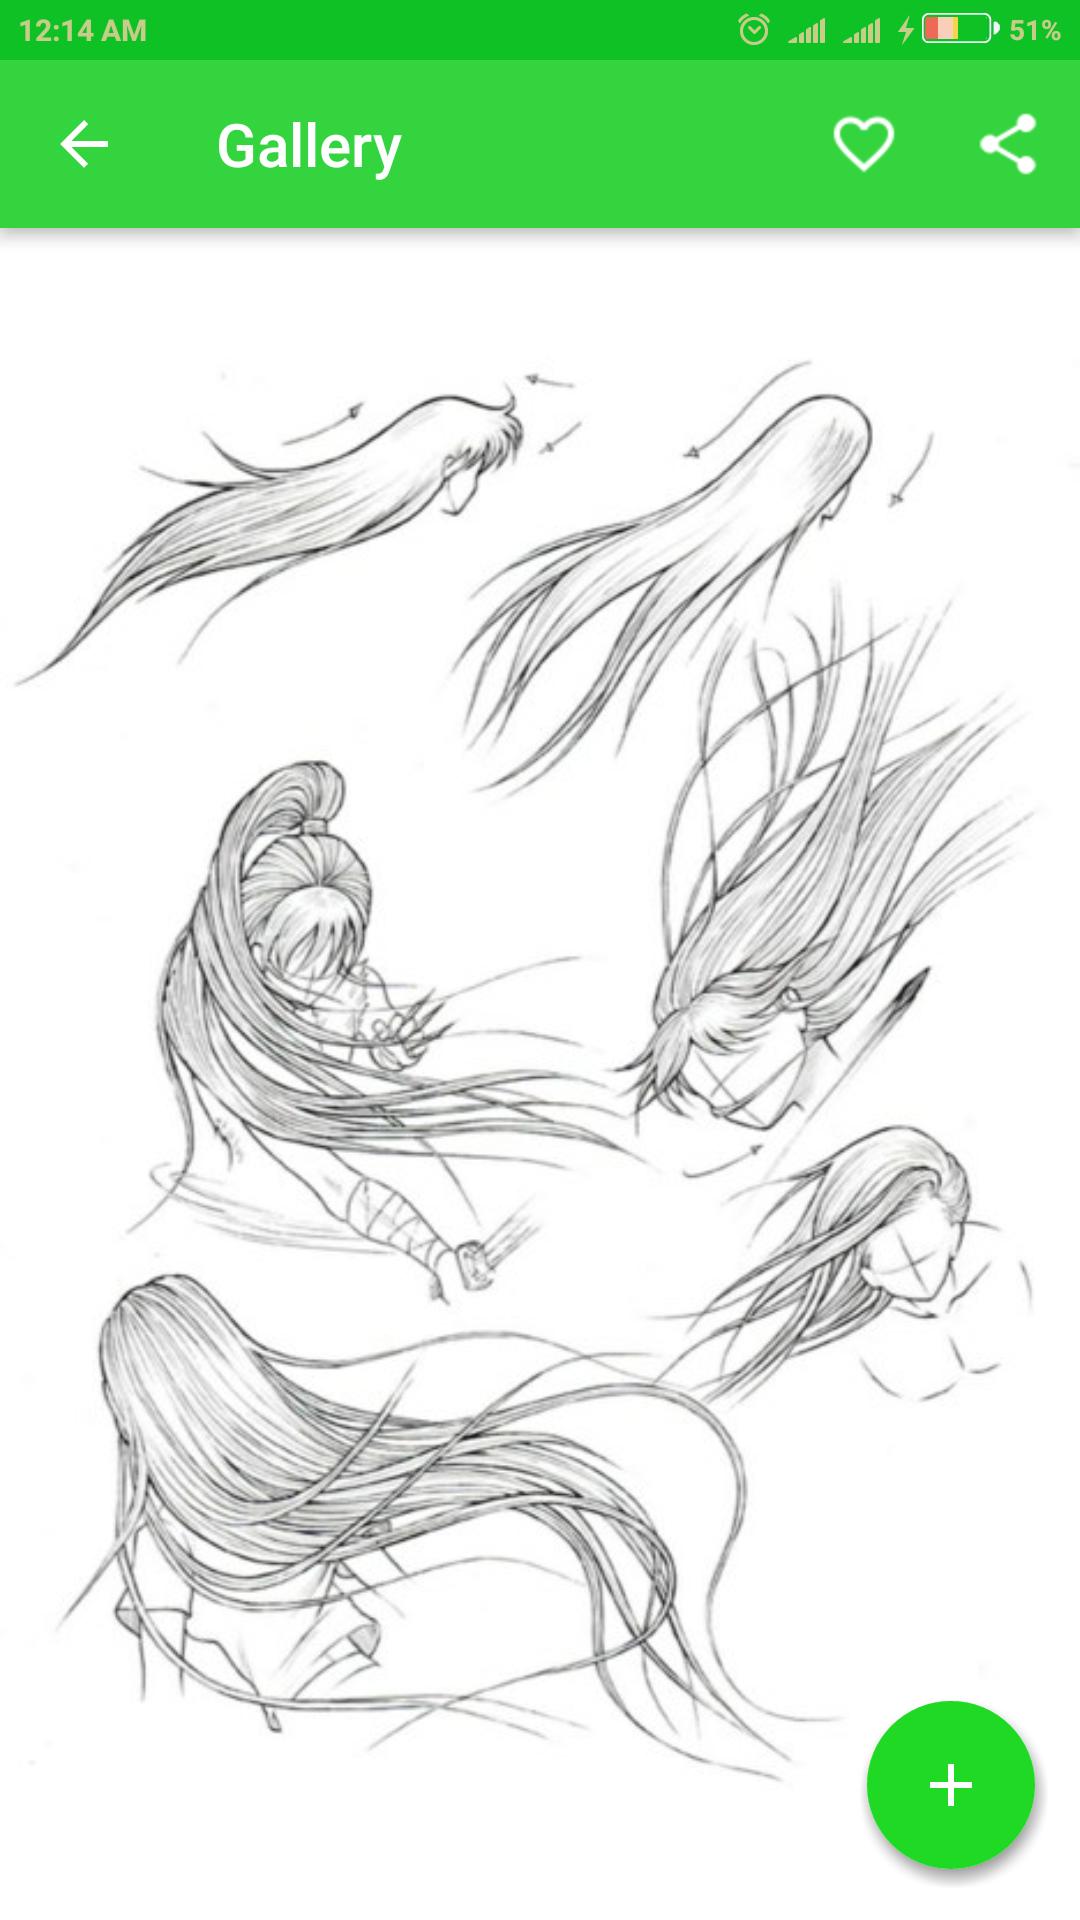
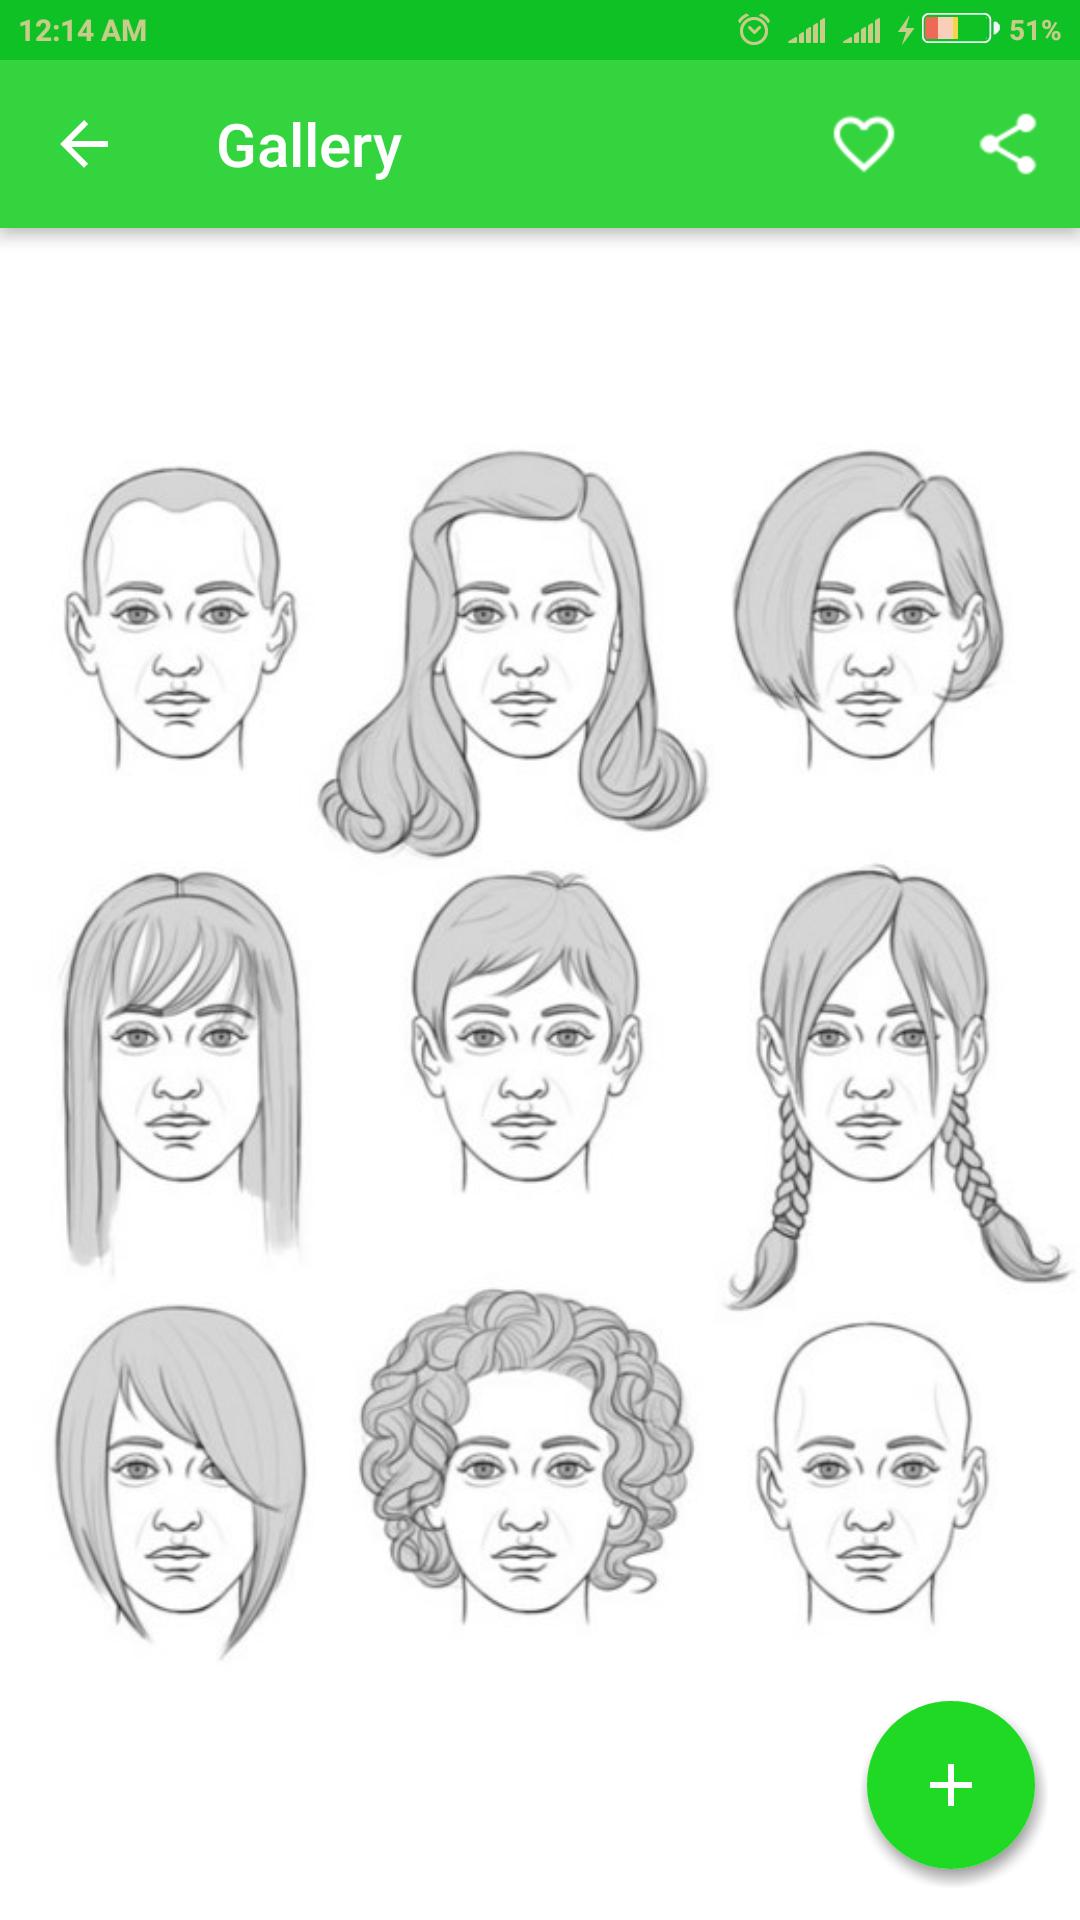
Learn to Draw Hair with this perfect offline application
Learn to Draw Realistic Hair
Many find lighter values of hair-such as blond, gray, and white-hard to represent in a portrait because, no matter how hard we try, a dark line, in and if itself, cannot represent a light strand of hair.
As I teach in the 5-Pencil Method, there are a few steps that you should follow to create realistic light-colored hair. With the same five pencils we used to create dark brown hair, we can create lifelike blond hair as well.
Drawing blond hair is about adding value, dimension, and depth, around the hair, leaving a negative space to represent the 'lighter hair.'
Create a foundation
Even when drawing blond hair, I still utilize my 2B pencil, because we will use the extra lead to distribute into the lighter areas of the hair with our brush. However, because you're using one of the darker pencils, you will need to regulate your pressure to ensure that your lines, or value, can be remove if needed.
If you're new to drawing hair with the 5-Pencil Method, I start with my 2B pencil to lay an initial foundation, and then use my camel-hair brush to blend the extra lead onto the paper to create the base.
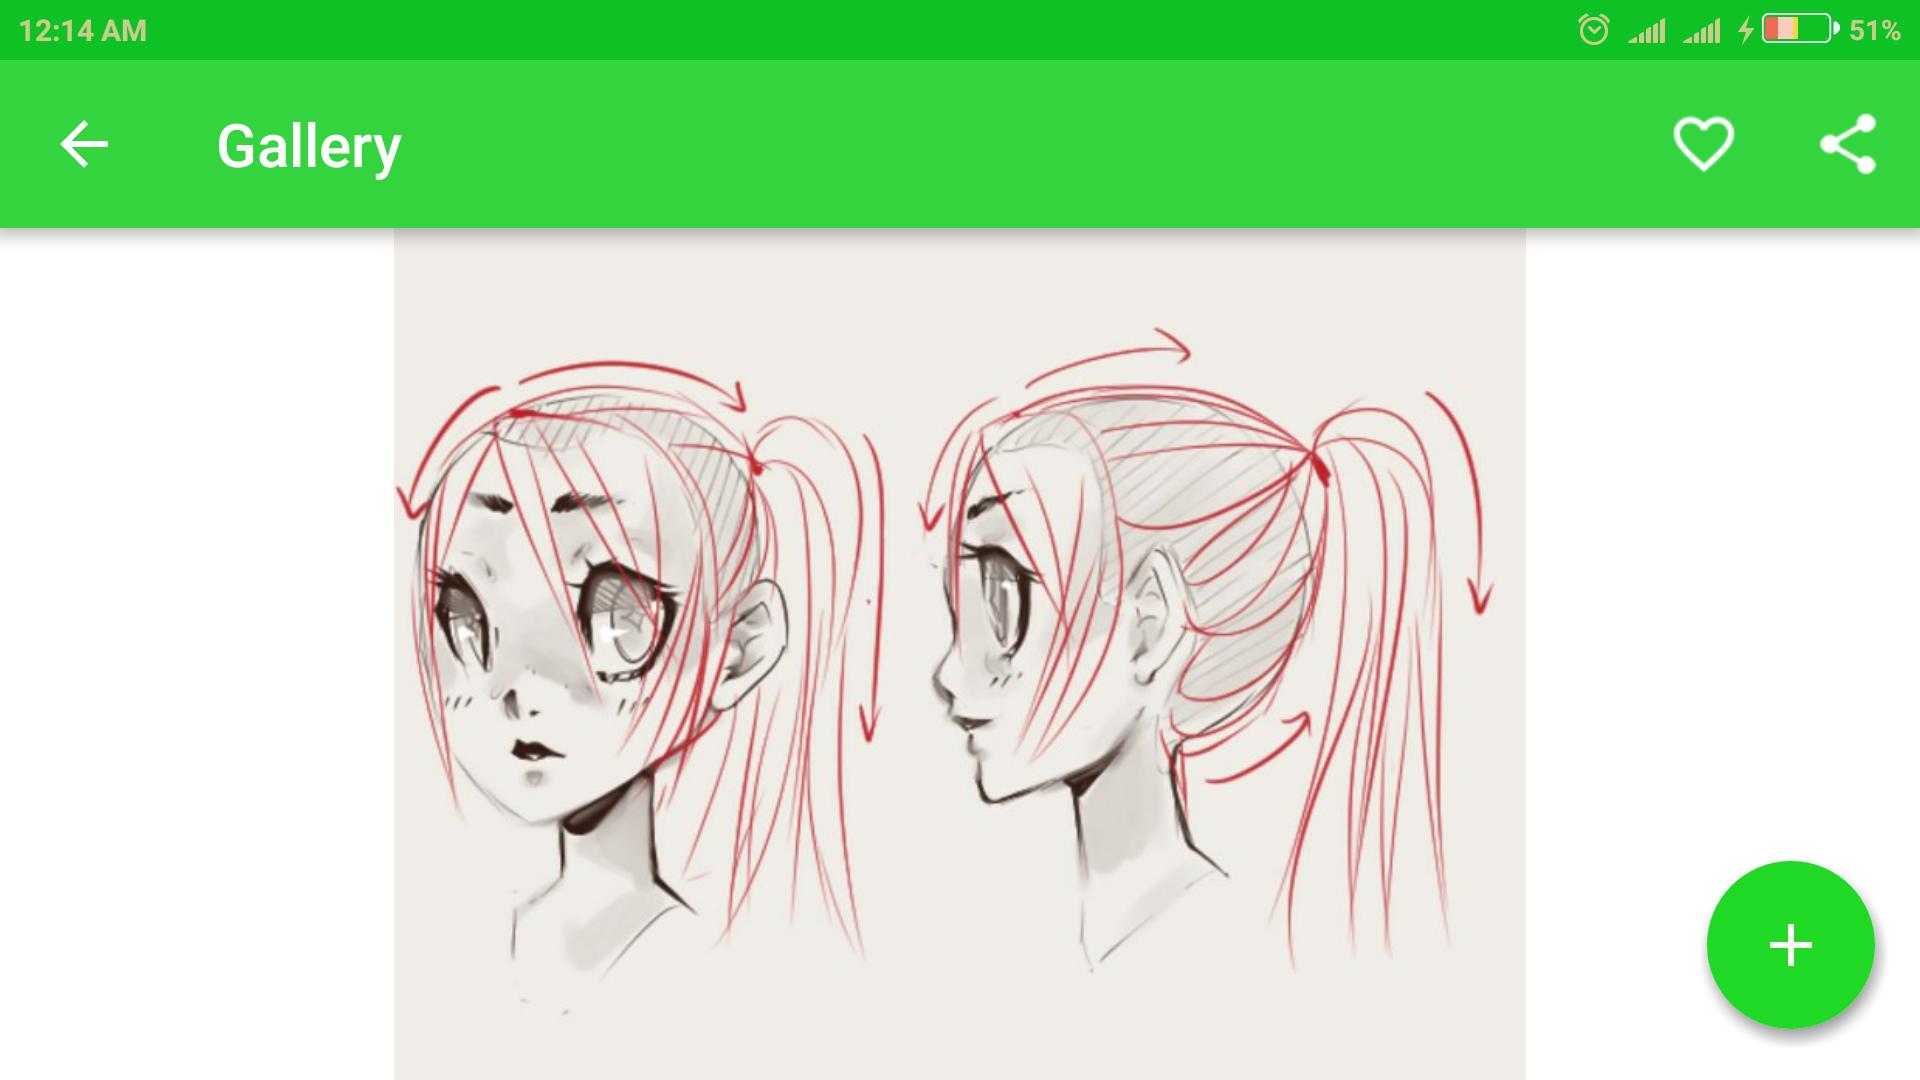
Follow the three rules of light
This is how your mind interprets light-anything that is lighter will come forward, anything that is darker will recede farther back, and anything the same value will be flat. So, in essence, what we'll do to is create a 'negative' and allow the light areas to represent the strands of hair, and the darker recesses to represent the depth and shaded areas of the hair.
Your mind will do marvelous things in translating what it sees if we create some of the necessary ingredients for it to justify its interpretation.
Create a negative
Then when you have the hair well on its way in its development, maintaining the texture that you have developed with your sharp pencil leaving the spacing (random gaps) instead of continuous gradations, you are then ready for the next step.
Remember that you cannot successfully go past something that doesn't have a clean line or edge. Then you choose, in principle, two lines running parallel and bridge that gap by adding value between those two lines. You will have created darker recessed spacing and what will be left will be the lighter areas representing the blond hair.
You're utilizing contrast, which along with the clean edges to your darker values will create dimension. When you use the rules of how light works as well, and determine to see some representation of curve and contour, you now have the necessary structure and ingredients for lighter hair. In essence, you have created a negative.
Not in reality, but in the way that dark pencil lines would normally look on a piece of paper. Remember, we're more interested in perception, and if necessary, illusions to help our minds see what it expects to see.
Have fun drawing!
This application is very interesting and easy to use.
FEATURES OF THIS APP
- Easy to use
- Best selection of graffiti letters
- User friendly interface
- Offline version
- Set as wallpaper
- Pinch zoom
- Have sharing function
- Free Download
Note: All the designs are copyrighted to their respective owners.
Last updated on Jun 22, 2018
fix bugs
Discover what you want easier, faster and safer.
")
Drawing Hair Step by Step
3.0 by KBJ Apps
Jun 22, 2018